1 / 31

Set grates (V up) and brick rails in place
2 / 31

Set first board in place. Tap lightly against top rail to score along your cutting line.
3 / 31

Use a straight edge and utility knife to cut the board along your score line.
4 / 31

Set board in place and repeat for the next board.
5 / 31

Cut out the corner for the third board.
6 / 31

Set full bricks tight to the back incline. Measure between for a cut brick.
7 / 31

Using a wet saw to cut brick
8 / 31

With full bricks in place, set board along incline and mark for length.
9 / 31

Score the board at an agle flat with the bottom of the arch belly.
10 / 31

Flip remaining board over and place on top of vertical board for a perfect mitered joint.
11 / 31

Finish boarding the remainder of the arch.
12 / 31

Start split bricks along the brick rail. Notch back brick to hold full brick back in place (leaving an expansion gap for the grates).
13 / 31

Quick method for determining the notch cuts.
14 / 31

Notched brick in place. Note expansion gap between grates and full bricks.
15 / 31

Work up side wall with splits, starting every other row with a half brick to stagger the joints.
Note: front brick will need to be narrowed to fit between door and side bolts.
Note: front brick will need to be narrowed to fit between door and side bolts.
16 / 31
Start the vertical incline bricks at the outer edges of the arch. Shown: determining the angle for the small corner filler brick.
17 / 31

Quick method for marking angle cuts
18 / 31

Completed grate area
19 / 31

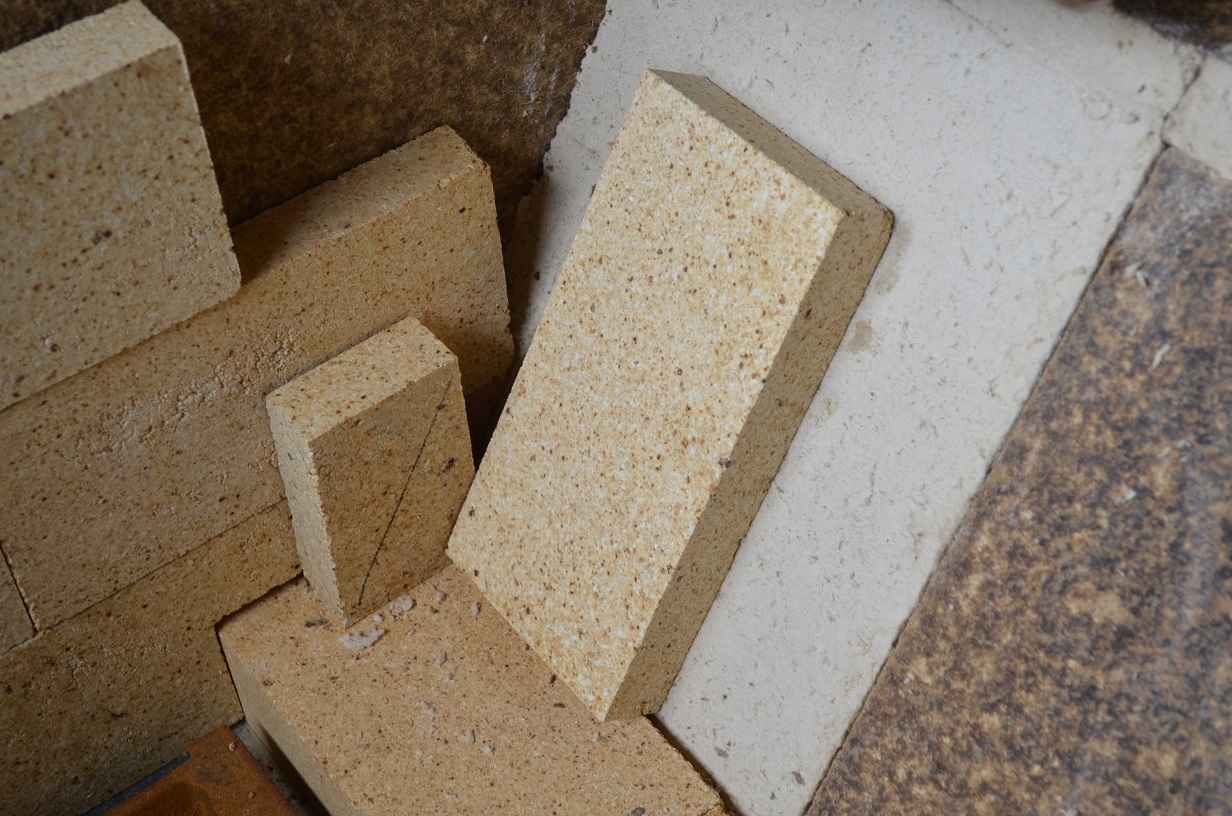
The upper row of bricks on the incline should be tapered to lay flat. Lay a brick on the belly and mark the top edge.
20 / 31

The remainder will flip over and tuck in behind the vertical brick for a flat, smooth transition.
21 / 31

As you work across the incline, you will narrow one brick slightly to fit (same with the flat bricks across the belly, as well).
22 / 31

Work your way up the arch side, cutting brick angles, as needed, to fit against back taper.
23 / 31

Completed incline
24 / 31

Completely cover the bottom of the arch belly (you do not need to worry about offsetting bricks on this flat surface.)
25 / 31

Set "soldiers" vertically against belly sides to back (will need to trim for correct height)
26 / 31

Completed front
27 / 31

Completed belly
28 / 31

Apply Heat Stop to all seams
29 / 31

Recommmended "Dipping Method". Thin coating on brick edges only.
30 / 31

Tuckpoint any larger gaps between bricks.
31 / 31

Smooth off excess Heat Stop
How to Place an ORder
Give us a call to place an order
We ship daily FedEx and USPS
and try our best to ship orders the same day they are received
About Us
Since we first opened in Lansing, MI in 1934, Sugar Bush Supplies has been helping sugarmakers with quality equipment and service
Contact Information
Phone - (517) 349-5185
Fax - (517) 349-3088
Email - [email protected]